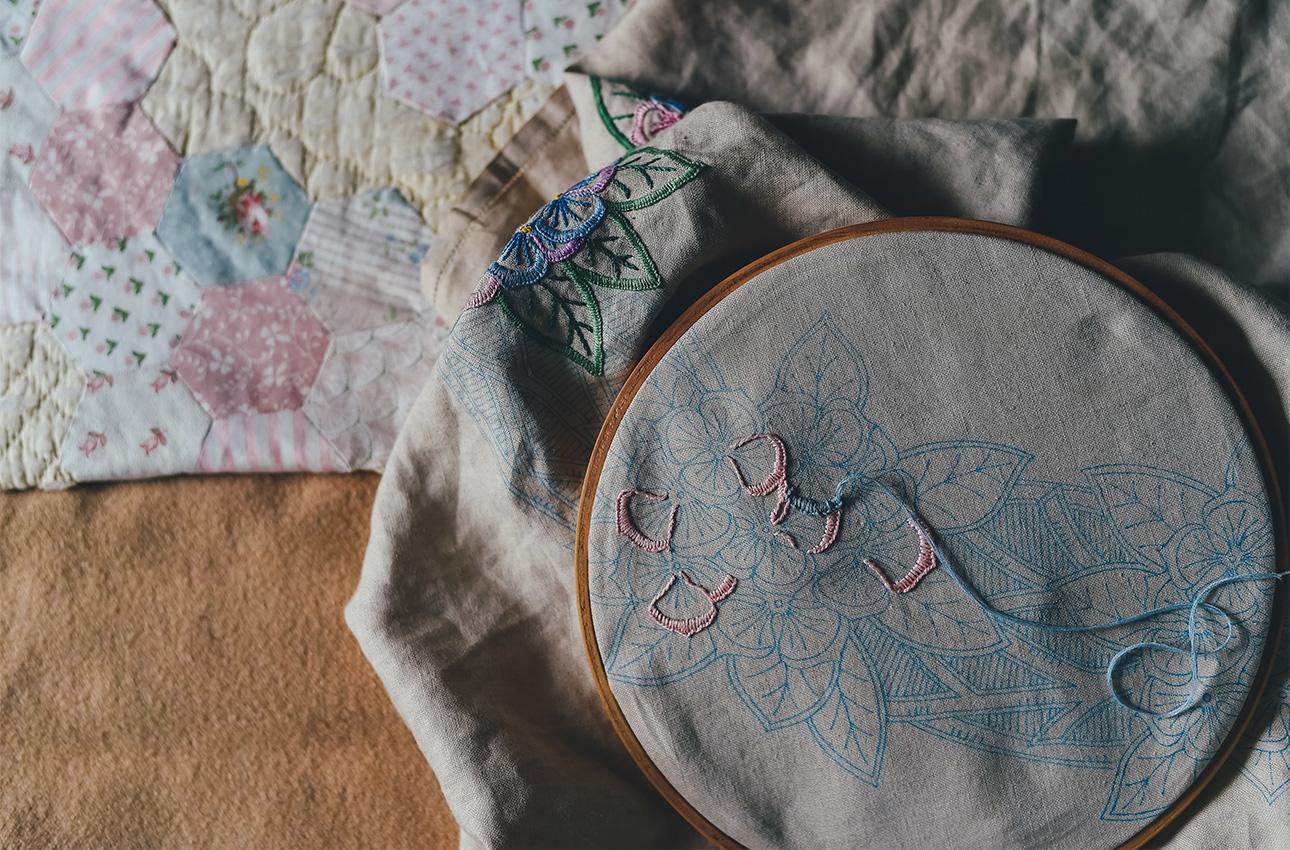
Embroidery is a wonderful hobby as, not only is it relaxing and enjoyable, but you’re able to produce beautiful pieces of art as a result. Getting started is easy once you know the basic stitches you’ll be using, so take a look at this handy guide for an introduction:
Running stitch
Probably the most basic stitch you’ll need to use, the running stitch is one you’ll probably be quick to master. Simply put the needle into the material in a motion that goes up and then down. Leave a space between this stitch and the next and repeat.
Back stitch
With this stitch, you’ll be able to create a line that’s solid rather than broken up as with the running stitch. It’s great when embroidering letters and creating outlines. You’ll need to push the needle upwards and stitch forwards. Then, decide how long your next stitch is going to be and pull the needle up at the far end. The needle needs to go back down at the end of the previous stitch.
Split stitch
Begin by creating a simple stitch and then pull the needle through the centre of it. Do the same for all the others, always coming up in the middle of the stitches you’ve made. If you’re creating text it’s important to keep the spaces small, as this makes cursive writing much easier.
Satin stitch
To fill the outlines you created using the backstitch, use a satin stitch. Pull your needle through on one side and push it through on the other, making sure you’re covering the full distance between the outlines.
Contact Franklins Group
To buy fabrics or access Coverstitch tutorials, visit our website or get in touch. Our friendly team are passionate about all aspects relating to embroidery as well as quilting and sewing. Make the most of our professional expertise today.

